
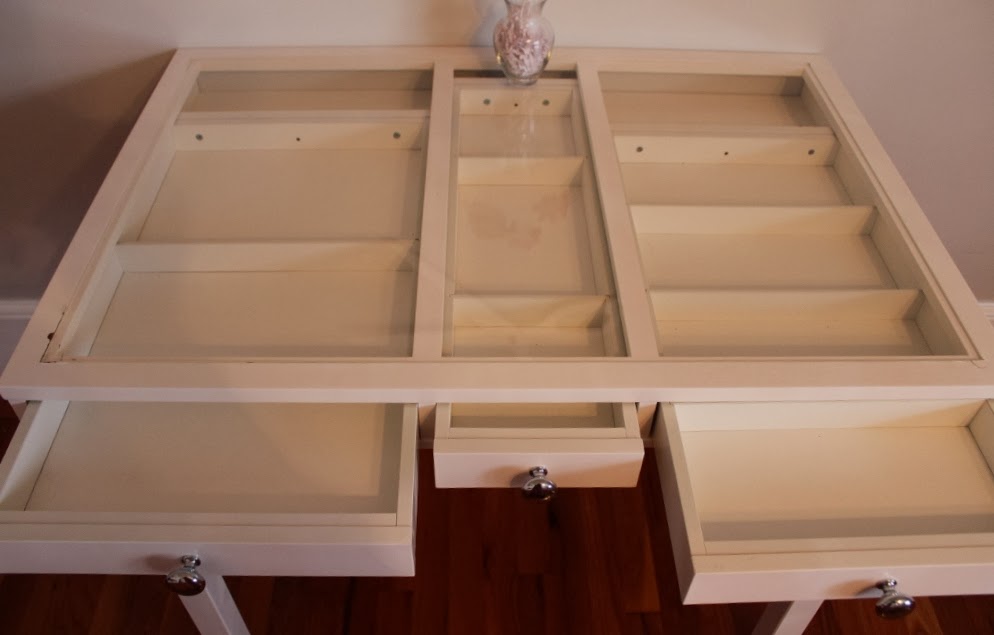
CLICK ON THE FIRST PHOTO FOR A LARGER VIEW AND SLIDE SHOW" I upholstered my sunroom furniture, sprayed it white and added it in my craft room. I put together the drawers in white and added red counter tops for a 10ft work station. We also did a hacked version of an ezview desk, got the legs at Ikea. I added to Ikea Lack Shelves. I love the red and white.
.jpg)


Cricut Cartridge Lacy Labels
This card was so simple to make. I cut white cardstock to 5 x 7", layer with a blue and white stripe pattern paper. Cut the Label @ 3" and all layers @ 3". I embossed the oval with the flowers on it and added Viva Pearl Pens. I did want the center of the flower to be more flat, so I took my finger and flatten the pearl before it dried completely. I also dotted the I's with Viva Pearl Pen.
Pen.
 Pen.
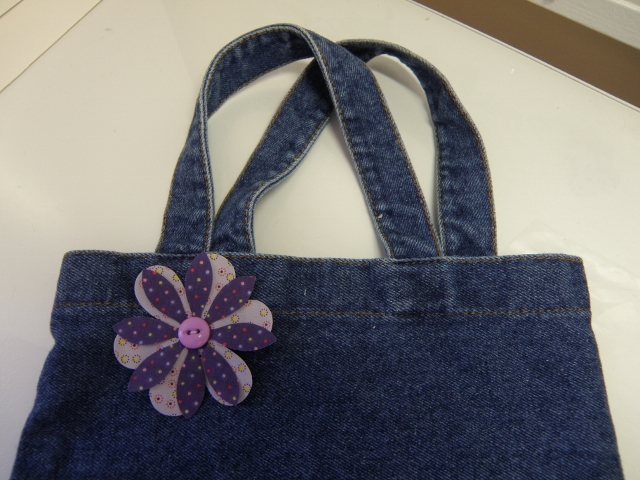
Pen.the jean purse for kids

I have most of my roses made for my bouquet


My Purple Pink Jean purse and headbands to match


This evening I cut out a lamp shade from a pattern I have had
I want to do something different, but can not find the wire lamp shade frames. If anyone knows where I could look I would appreciate you let me know.

 On my way home today I stopped in at Michael's Craft Store, but they do not have any. I did not have time to stop at hobby lobby. I am not sure what I want to do with it. I cut several out tonight. Here is the photo. I adjusted it to where the top opening is 5" and the bottom is 16 1/2". I do have some room to play either way. I might just check Goodwill and see if I can find an old one that needs repair and use that frame. I would rather just order one and have it sent to my front door, lol. I do not have lots of free time to go shopping. I do most of my shopping online these days. I need to find me a frame and figure out what I want to do with it. Any suggestions?
Maybe this would be a great giveaway too. I could give one away on my blog and you could decorate it for your home. I might just get some inspiration this way. One reason I have not made any in such a long time, is we have a second home up for sale and once it sales, I want to pay someone to come in and paint this house. I want color. When we purchased this house 2 years ago, it was painted all tan and white trim. It looks good, but I want color. So this is why I am having such time at deciding what I want to do with this shade.. Maybe I should put it up until we get to paint the house. It might not match if I make it now. I want to make something besides cards. Do you ever feel this way. Maybe the new cake cartridges will have some nice borders I can use.
Who would like to have one? They are pretty easy to glue to those wire frames. You could do what I may bave too, and use an old lamp shade from a yard sale, goodwill, etc...If these rug rats did not keep me so busy, I might would have time to go find one, lol. A few years ago, I added butterflies and ribbon with dangling beads for Caitlin's room. It is real girly


# 11 MYP COLORS OF THE RAINBOW VIEW 1

My home made Photo Albums for Gifts
I made a chart so you would not have to guess at how many pages you can put in your albums.
SPINE SIZE NUMBER OF PAGES
1MM 1-10 pages double sided photo paper
3MM 10-25 pages double sided photo paper
5MM 25-40 pages double sided photo paper
7MM 40-55 pages double sided photo paper
9MM 55-75 pages double sided photo paper
I used an 8 x 8 3MM Spine/No window album in black. I used my Imagine Machine/plus Christmas Wish and Floral Emporium Pattern Cartridges to print all my paper for the outside and inside of the album jacket. Printed on 12 x12 white Bazzil cardstock and cut papers according to size album you are using.

I wanted this album to look like a purse...so I cut out one of the scallop images that is stored on the Imagine Machine/colorfill with the Lime Dots pattern/ hit print and cut feature. This scallop was cut at 6/6".


Scallop border at the bottom of the album was cut 8" using the Imagine and Ribbons and Rosettes/embossed ( 2 white and one lime green) ran through xyron for edge to edge adhesive. Tied green ribbon/bow. Added my pages, placed spine side down into the book binding machine and within 90 seconds I had a professional looking photo book.
I am in love with my Imagine Pattern cartridges. Floral Emporium,/ Christmas Wish/Ribbons and Rosettes They have patterns I can use all year and bright and colorful too...well you can see for yourself above, lol
Hope you enjoy another product demo by Chris of TurnedGypsy Craft Blog
Subscribe to:
Posts (Atom)